

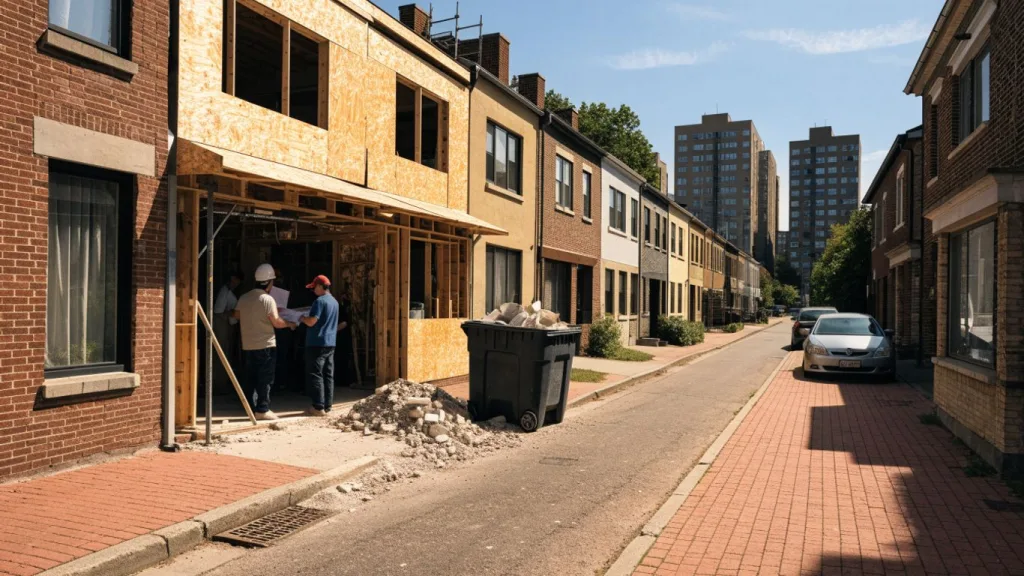
Turning a house into a multiplex means opening walls, rebuilding layouts, and often digging down, so multiplex conversion renovation waste arrives in several different forms over the life of the project. Planning your bins around those phases, instead of guessing at one total, keeps a tight Toronto site workable. The City of Toronto now allows multiplexes in its neighbourhoods, and more homeowners are converting as a result. Whether you hire a general contractor or book the bin yourself, this guide explains what waste to expect, which bins suit each phase, and how to keep the job organized, based on the renovation projects we deliver to across Toronto and the GTA.
Key Takeaways
- Plan waste removal around three phases: demolition, excavation, and finishing.
- Keep soil and concrete separate from mixed renovation debris.
- Check older homes for hazardous materials before you disturb them.
- Choose a bin by weight limit as well as volume.
- Put responsibility for ordering, paying, and scheduling in writing.
What Is a Multiplex Conversion, and Why Are Toronto Homeowners Doing It?
A multiplex conversion changes a house so it holds several separate residential units, such as a duplex, triplex, or fourplex. In practice that means adapting the existing layout, adding kitchens and bathrooms, and upgrading the fire separations and building systems between units. Homeowners and investors pursue it to create rental income or room for extended family. If you manage the job yourself, our residential bin rental service lets you book bins directly. The project still depends on your property, your design, and the approvals it needs, and waste planning belongs in the earliest conversations with your contractor, so line up your bin rental Toronto provider before demolition starts, not after the first pile of debris appears.
What Bill 23 and Toronto’s Multiplex Rules Changed
Ontario’s Bill 23, the More Homes Built Faster Act, 2022, requires municipalities to permit up to three residential units on a lot, according to a City of Toronto staff report on its multiplex study. Toronto went further. In May 2023, city council approved multiplexes of up to four units in all neighbourhoods, and before that about 70 per cent of the city’s residential areas only permitted single-detached homes, according to The Globe and Mail. Zoning permission is only one piece, so confirm what your lot, your layout, and your building permit require before you finalize a design. If your plans also include a backyard unit, our guide to laneway and garden suite bin rental covers that side of the waste plan.
These rules shape the work that follows. A design that adds a basement unit, for example, involves excavation and structural changes on top of interior demolition. The clearer the approved scope, the easier it is to estimate each waste stream and schedule removals around the work.
What Waste Does a Multiplex Conversion Produce?
The mix depends on the age of the house and how far the renovation goes. A conversion can generate bulky debris from demolition, dense material from structural work, and packaging and offcuts during installation. If you are arranging a multiplex conversion bin rental, describe the planned work and materials before booking so we can recommend a bin that suits them. Our guide to renovation waste in a Toronto condo covers the apartment version of this topic, while this guide focuses on house conversions.
Gutting and Demolition: Plaster, Drywall, Flooring, and Old Systems
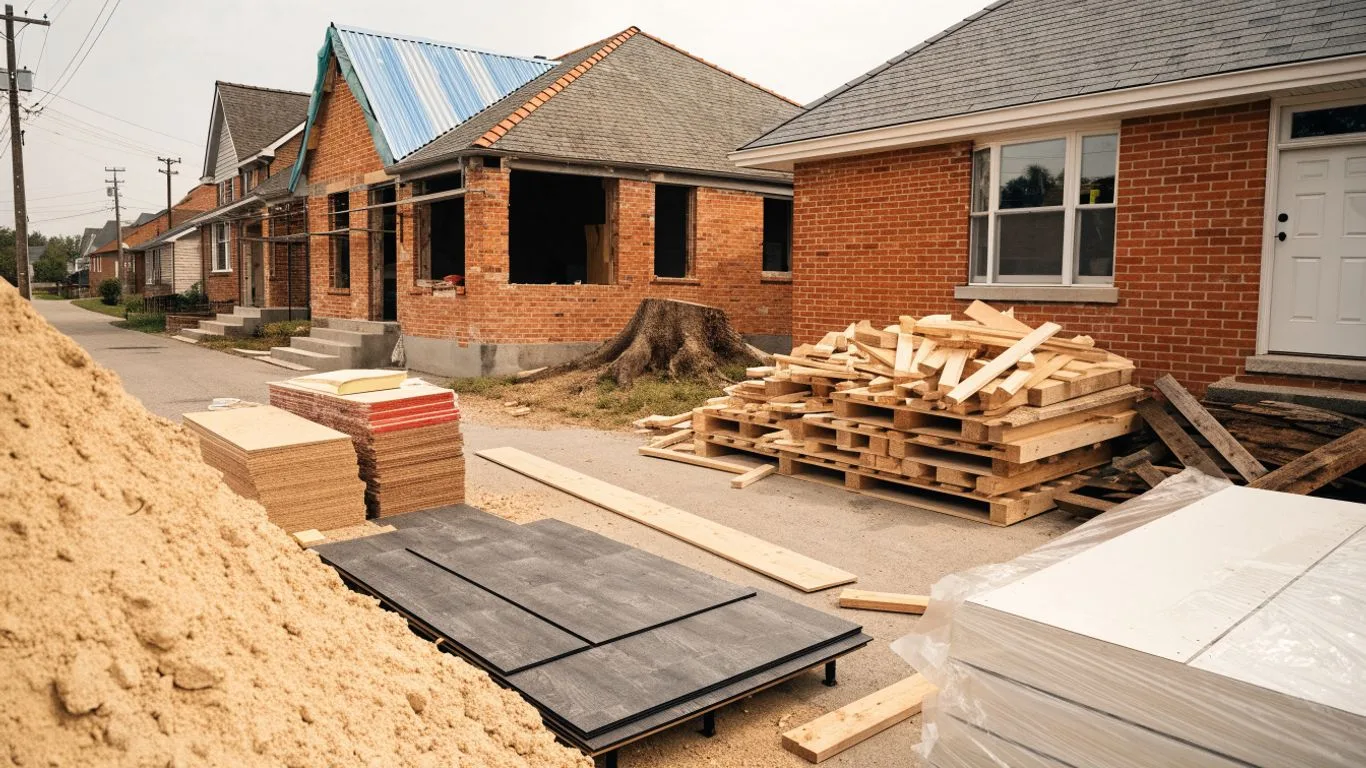
Opening walls and removing worn finishes produces plaster, drywall, flooring, trim, doors, cabinets, and old fixtures. Plumbing and electrical upgrades add old piping, wiring, and fixtures to the pile. Take an inventory with your contractor before demolition and set aside anything that will be reused or donated, because salvage is hard once it is mixed with broken debris. Mixed interior debris like this suits a standard mixed-waste construction bin rental, and our 10 Yard bin has a double-door design so crews can walk in and load instead of lifting everything over the side.
Dense debris deserves special attention. We often see plaster, lath, and masonry from an older house reach a bin’s weight allowance well before the bin looks full, which is why heavy material and light material should be planned for separately.
Fire Separation, New Layouts, and Finishing Waste
New unit layouts involve added partitions and fire separations, followed by drywall, insulation, flooring, cabinetry, and paint. These stages produce a different kind of waste than the initial gut: offcuts, empty packaging, and smaller amounts of mixed material that build up steadily. On a tight site, have trades clear debris regularly instead of letting it gather in hallways, stairs, or access routes. A short walkthrough between phases shows whether the next bin or pickup should be scheduled before the crew is ready to load it.
Basement Underpinning and Excavation: When You Need Clean Fill
A basement unit often requires digging down for more headroom or structural support. Underpinning and excavation produce heavy concrete and soil, so they need a plan separate from ordinary renovation debris. If you are looking for a basement underpinning bin rental, tell us the material and the project phase when you book.
Concrete, Soil, and Dirt: Keeping Waste Streams Separate
Our Clean Fill bin is a 5 Yard bin at $359 per load, for concrete, asphalt, or dirt only, with no mixing. A common mistake on conversion projects is tossing drywall, wood, or household debris into the same container as underpinning concrete and soil, which defeats the purpose of a clean fill bin. If a load gets mixed by accident, stop loading and call us before adding more, because separating it afterward is much harder.
Soil leaving a construction project in Ontario is covered by the province’s On-Site and Excess Soil Management regulation, and how it applies depends on the scope of your project, so ask your contractor to confirm the soil plan before any digging starts.
Plan for the pace of this material as well. Excavation tends to produce debris steadily, while a concrete stage can create a sudden burst. Coordinate the bin and the pickup with your contractor so the area stays accessible and the load stays within its weight allowance. A bin suited to bulky interior debris is usually the wrong choice for a heavy excavation load.
Older Toronto Homes: Hazardous Materials and What Cannot Go in a Bin
Many Toronto homes that become multiplex candidates are decades old, and older buildings can contain materials that should not be treated as ordinary demolition debris. You cannot reliably identify them by appearance, and disturbing them can create health and disposal risks. Before demolition, ask qualified professionals what assessment makes sense for your building and your planned work. Treating this as a pre-construction task leaves time for separate arrangements instead of stopping work after a material is exposed.
Designated Substances Such as Asbestos and Lead
Asbestos-containing materials and lead-based coatings are examples of hazards that may be present in older homes. If you suspect one, do not break it up or place it in a bin. Seek qualified advice on assessment and handling, and have your contractor coordinate the next step. Restricted materials cannot go in our bins, and a visual guess is not enough to clear a material for ordinary disposal.
Checking Accepted Materials Before You Load
Before loading uncertain items, check what the bin accepts. Our Bin Rental FAQ explains accepted and restricted items, and our team can answer questions about a specific material before the bin arrives. Keep the answer accessible to everyone working on site, especially if several trades share one container. A quick check before a load is mixed is far easier than sorting it afterward.
Choosing Bin Sizes for a Multiplex Conversion
Choosing a bin involves more than the space the debris will take up. Plaster, cabinetry, and flooring fill volume, while concrete and soil reach a weight limit with less visible material. Our guide to choosing a construction bin size covers sizing in more depth. Build in room for surprises, because opening walls or floors often reveals work that was not obvious in the original estimate.
Matching Bin Size to Each Phase
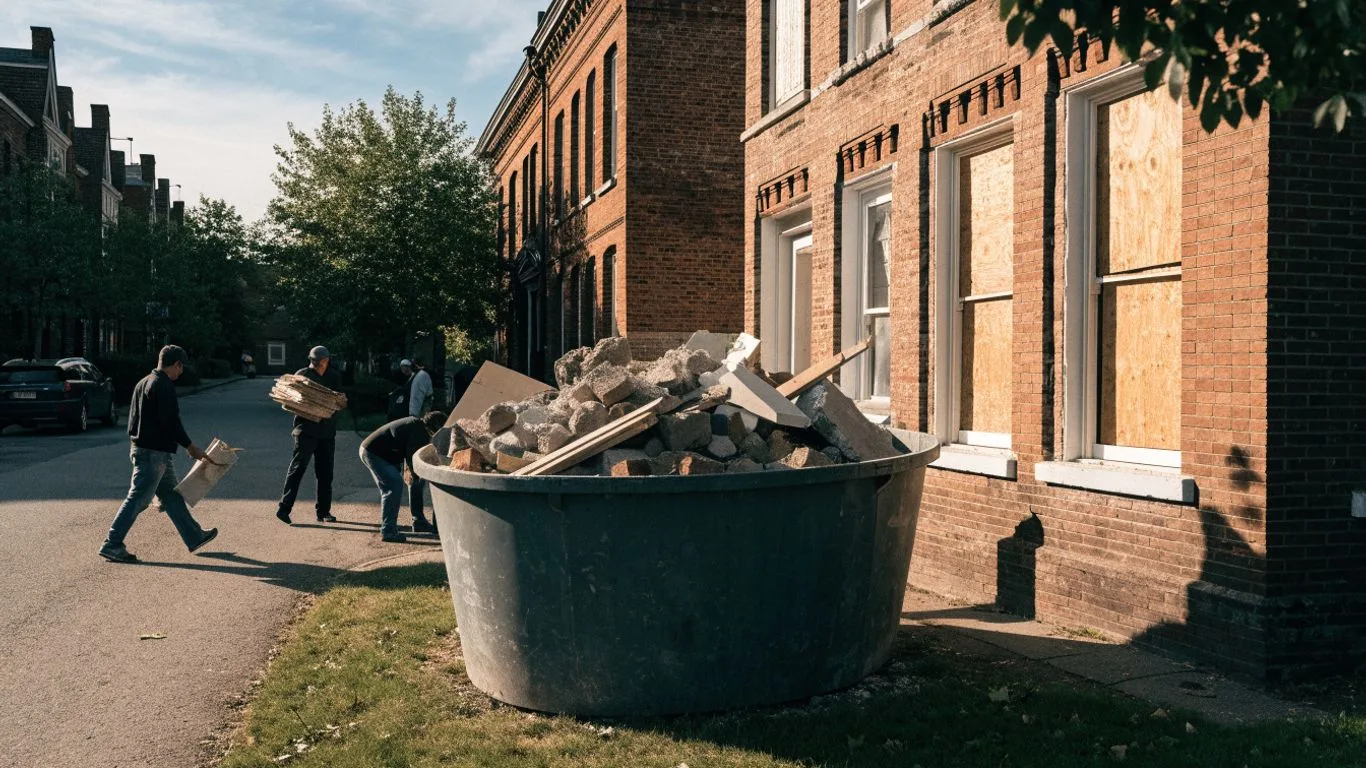
A single bin rarely suits every phase of a conversion, because demolition, excavation, and finishing produce different materials at different times. Use this table as a starting point, then share your expected material mix with us when you book.
| Project phase | Likely material | Bin to consider |
|---|---|---|
| Interior demolition | Plaster, drywall, flooring, fixtures | 10 or 14 Yard mixed-waste bin, or a 20 Yard for a full gut of a larger home |
| Basement excavation and underpinning | Soil and concrete | 5 Yard Clean Fill bin, $359 per load |
| Finishing work | Packaging, offcuts, small mixed debris | 5 or 10 Yard mixed-waste bin |
For reference, the 5 Yard measures 12′ x 6′ x 2′, the 10 Yard 12′ x 6′ x 4′, the 14 Yard 12′ x 6′ x 4.5′, and the 20 Yard 14′ x 7′ x 6′.
Weight Limits and Overage on Dense Demolition Debris
Each bin includes a weight allowance for its one-week rental: 5 Yard at $299 includes 1 ton, 10 Yard at $379 includes 1.5 tons, 14 Yard at $439 includes 2 tons, and 20 Yard at $499 includes 2.5 tons. Weight above the allowance is $120 per ton. Dense material such as plaster, masonry, concrete, and soil reaches the limit well before the bin looks full, so do not estimate these loads by volume alone. When you describe the job to us, mention the heavy materials first, and we will help you choose between a larger mixed-waste bin and a separate clean fill bin.
Placing and Scheduling Bins on a Busy Conversion Site
A bin affects access for workers, vehicles, neighbours, and sometimes pedestrians. Before delivery, decide where it can sit and confirm what approvals that location needs. Then coordinate delivery and removal with the renovation sequence instead of treating it as a single booking. A clear placement plan keeps your crew from carrying debris farther than necessary or blocking an active work area.
Driveway Placement, Street Permits, and Neighbours
A bin on your driveway or other private property generally avoids the permit process. Placing a bin on a street or other public space can require municipal permission, and the rules differ by city. Our guide to bin rental permits in Toronto explains when a permit applies and how to avoid needing one. If your site is tight, our team places protective boards under the bin when needed, and a 5 Yard bin is often the easiest fit for a narrow driveway. Let neighbours know when the bin is expected and how long it will stay, especially where driveways or access points are shared.
Planning Bin Swaps Around Trades and Inspections
Schedule swaps around the work that generates the waste and the site activities that need clear access. A delivery truck can conflict with a concrete pour, an inspection, or a trade arrival when everyone works from a separate calendar. Share expected dates with your contractor and with us, and leave room to adjust if demolition uncovers extra work. Tell us as early as you can, and we will confirm what notice we need for your date and address.
Who Manages the Waste: Homeowner, Investor, or Contractor?
The person paying for a renovation is not always the person coordinating every waste decision. If you manage the project yourself, you may need to order bins, confirm accepted materials, and arrange pickups with each trade. If a general contractor manages it, ask whether waste removal is included in the price, handled as a separate allowance, or billed as a change when needs shift. Also ask who approves extra charges, such as the $120 per ton overage, and who keeps the receipts. Decide this before the first bin arrives, and name a primary contact and a backup so small waste decisions do not turn into delays between trades.
Putting Waste Responsibility in Writing
A short written plan prevents misunderstandings when several people share responsibility for the project. Record who orders bins, who pays, which materials are expected, and who confirms acceptance requirements. Note the bin type and placement, the expected delivery and pickup windows, and any agreed weight or material restrictions, including how excavation debris will be kept apart from interior demolition debris. Keep copies of confirmations and share the relevant details with the people on site. The document does not need to be long, but it should be specific enough that a new trade can understand the arrangement.
Agree on how to handle surprises as well. If concealed damage, extra soil, or a questionable material changes the expected waste stream, the crew should pause loading and contact the decision-maker. A written process for that moment is more useful than a plan that assumes every phase will go exactly as drawn.
Frequently Asked Questions
What kinds of waste come from a multiplex conversion?
Interior demolition produces plaster, drywall, flooring, fixtures, and old plumbing and electrical material. Basement work produces concrete and soil. Finishing produces packaging and offcuts. Soil and concrete go in a Clean Fill bin, and everything else goes in a mixed-waste bin.
Can I put concrete and soil in the same bin as renovation debris?
No. Our Clean Fill bin is a 5 Yard bin at $359 per load, for concrete, asphalt, or dirt only, with no mixing. Our 5, 10, 14, and 20 Yard bins are for mixed construction waste. If a load gets mixed by accident, stop loading and call us before adding more.
Should I have an older Toronto home checked for hazardous materials?
If the home is older and materials will be disturbed, ask qualified professionals whether an assessment is appropriate before demolition. Do not place suspected hazardous materials in a bin, and do not treat them as ordinary debris.
How do I choose a bin size for renovation debris?
Estimate the type and amount of material for each phase, then consider the weight allowance as well as the capacity. A 10 or 14 Yard bin suits most interior demolition, while soil and concrete belong in the 5 Yard Clean Fill bin. Dense debris reaches a weight limit before a bin looks full.
Do I need a permit to place a bin on the street in Toronto?
A bin on your driveway or private property generally avoids the permit process, while a bin on the street or other public space can require municipal permission. Confirm the requirements for your location before delivery.
Who should arrange and pay for waste removal during the conversion?
That depends on your agreement with the contractor or project team. Settle in writing who orders the bins, who approves extra charges, and who requests swaps and the final pickup before work begins.
Conclusion: Planning Your Multiplex Conversion Waste With Rent A Bin
A well-planned conversion treats waste as part of the construction sequence: identify the materials, separate soil and concrete from mixed debris, confirm weight limits, and put responsibility in writing. Handling multiplex conversion renovation waste this way keeps the site safer and ready for the next phase. We deliver across Bolton, Brampton, Caledon, Etobicoke, Markham, Mississauga, North York, Vaughan, and Richmond Hill, and we can help you choose the right bins before you order. Tell us about your house, your phase, and what you expect to remove, then request a quote online or call (416) 702-2467.